General about documents
A document may be any type of documentation file (Word, Excel, PDF, JPG, etc.) associated with a contract, including:
- The main document
- Exhibits and appendixes to the contract
- Change orders
- Minutes of meetings, mail correspondence, etc.
It is the norm that any legally binding documentation and other relevant documents to a contract would be added as documents. To distinguish between different types of documents (and to be able to better search and navigate among various documents), you can choose between document categories defined in the system.
Clicking on the documents tab on the contract/policy header, shows you all the documents currently associated with the contract:
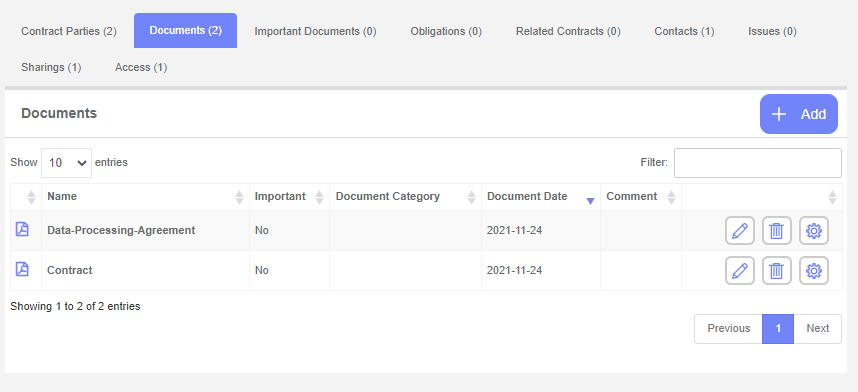
The document list can be narrowed down by typing specific text in the search box on the upper right-hand side of the list.
Tip: If you, for example, type "ser" in the search box, only documents holding the text "ser" will appear in the list.
If you want to open a document you press the specific document’s row and the document will automatically be downloaded.
Remove a document
An already existing document can be removed by clicking on the "bin" icon at the right-hand side of the document (see picture above).
Add a document
A document can be added by clicking on the "+ Add" icon at the upper right-hand side of the document list (see picture above) after which the following screen appears:
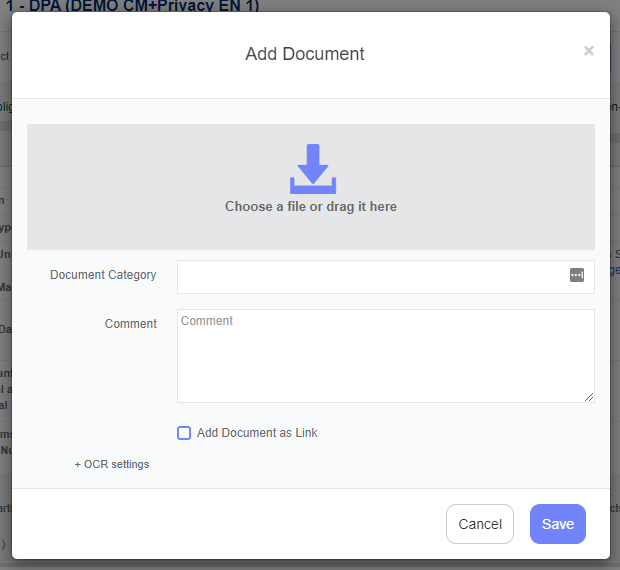
You can either upload the physical document (either by selecting it or by using "drag & drop") or register a link to the document in case you only want to reference a document which is placed in another location e.g., on a Sharepoint site. If you want to register a link to a document, you first have to click on the “Add Document as Link” checkbox (see picture above).
Upon selection of your document or registration of name and link to a document reference, click on the “Save” button.
Tip: It is possible to select multiple files at a time for upload.
Note: If the document is not OCR-scanned you can choose the document language for automatic OCR scanning after upload (for later search abilities).
Set document as the main document on the contract
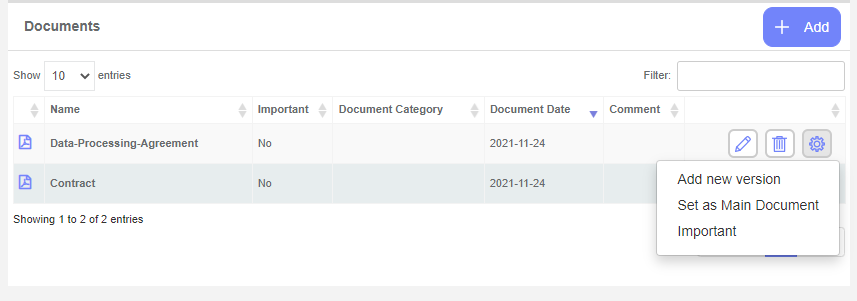
To mark a document as the main document of the contract, click on the “cogs icon on the right-hand side of the document in the list and then on “Set as Main Document” (see picture below):
The purpose of defining a document as the main document of a contract is to ensure easy retrieval. Only one Document can be set as the main document, and this has the following impact:
- The document can be seen directly on the contract view screen (in the metadata area) and can be retrieved with a single click.
- The document can be retrieved directly from the “All Contracts” or “My Contracts” list screen by clicking on the “paper clips” icon on the right-hand side of the list.
Remove a document as the main document on the contract
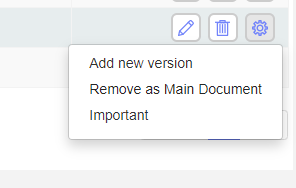
To remove a document as the main document of the contract click on the “cogs” icon on the right-hand side of the document in the list and then on “Remove as Main Document” or just click on the "garbage can" icon on the right-hand side of the main document (see picture below):
Set document as important/not important
To mark a document as important click on the “cogs" icon on the right-hand side of the document in the list and then either “Important” or "Not important" (see picture above).
Note: The purpose of defining a document as important/not important under a contract is to retrieve important documents easily for separate viewing on a separate tab "Important Documents".
Edit document
To edit an existing document, click on the “pencil” icon on the right-hand side of the document which will take you to the document view screen.
Add a new version of a document
To add a new version of a document click on the “cogs” icon on the right-hand side of the document in the list and then on “Add new version” (see picture above) after which the following pop-up window appears:
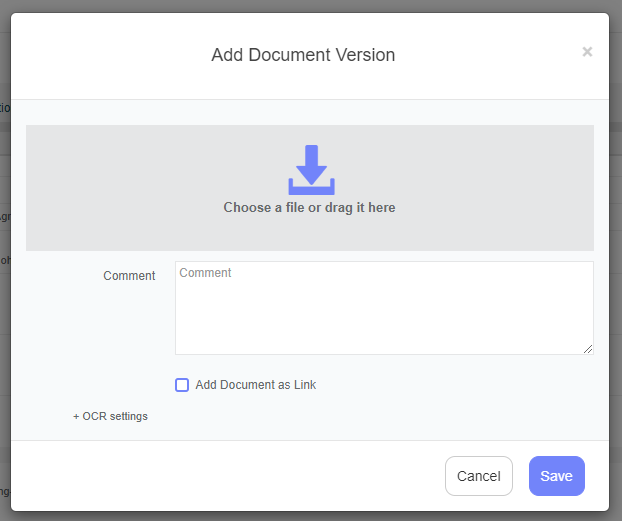
Fill in the information the same way as for "Add Document" (see above) after which you click on "Save".